AT-010 RUN OUT PROBE
Pre-alignment tool AT-010 Run Out Probe
The perfect tool for the maintenance professional!
The AT-010 is a pre-alignment tool with a multitude of applications with which you can determine if your machine actually suffers from misalignment or a pre-alignment condition, e.g., softfoot.

The importance of pre-alignment
The pre-alignment steps, while essential, are for accurate alignment. Simply put, pre-alignment checks are the things that must be done before attempting the actual alignment.
Consistent practice of thorough pre-alignment inspections can lead to a higher end result. When you perform these checks, you significantly reduce your chances of a problem that could cause breakdowns in your rotating machinery, which, in turn, could lead to production downtime.
Thanks to its variety of applications, the AT-010 deflection probe is the perfect pre-alignment tool for maintenance professionals who need to monitor the performance of their machinery.
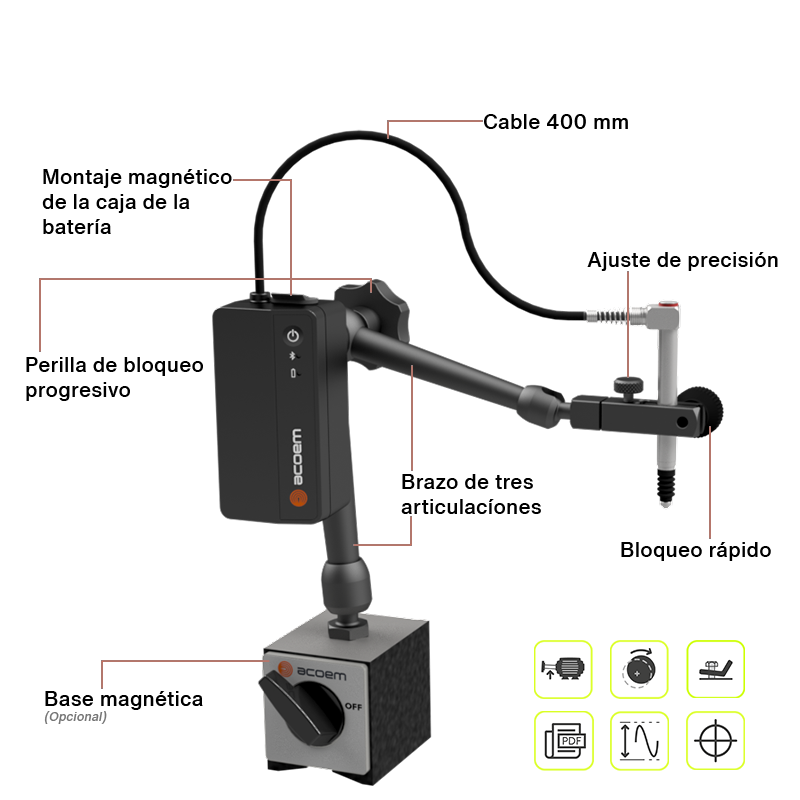
Industry-first combination of shaft displacement and shaft alignment

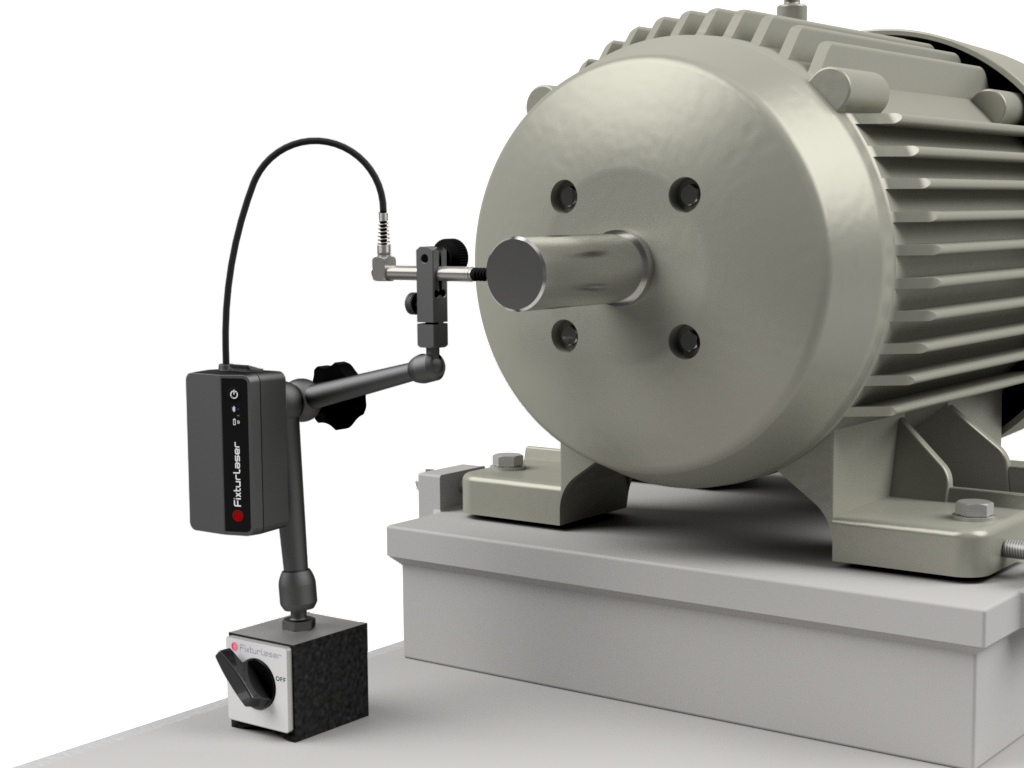
The AT-010 probe is the first probe that can be combined with a laser alignment system. It is an application-based displacement probe with wireless connection to a remote display or FIXTURLASER NXA display unit, capable of performing a multitude of pre-alignment checks, such as:
- Run Out checks
- Checking of the movements of the machine legs (softfoot)
- Checking bearing clearances
- Checking of pipe tension movements
- Thermal growth measurements on machine casings.
- Checking of bent shafts
AT-010 Run Out Probe Applications
True Softcheck: a pioneer application in the industry
A softfoot condition must be corrected before any shaft alignment is performed. Otherwise, it is more or less impossible to align correctly.
The AT-010 probe measures directly at the base of the machine the play that occurs when the bolt is loosened. The user will obtain real values in contrast to other methods used that yield inaccurate values.
- Measure the actual movement in each leg
- On-screen guidance for perfect results
- Results are kept for later reporting and review.

Bearing clearance

Correct bearing clearance is important to achieve good alignment results.
- Detects bearing wear.
- Check for excessive bearing clearance radially and axially.
- Bearing clearance check
- Results saved in the report
Run - Out
Bent shafts, skewed or eccentric mounting of coupling hubs can cause damaging vibrations.
- Verify runout on shafts and couplings with just one rotation
- On-screen configuration and measurement guide
- Results saved in the report
Free Software!
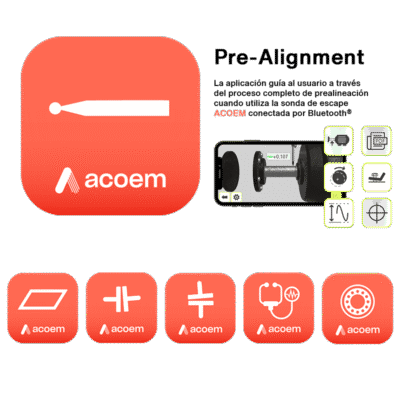
Pre - Alignment
The app guides the user through the entire pre-alignment process when using the Bluetooth® connected ACOEM exhaust probe.
This offers a complete pre-alignment package, including the ability to measure and record runout, bearing clearance and True SoftCheck.
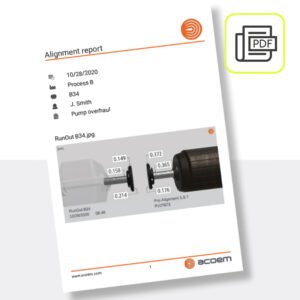
The PDF Report feature provides quick on-site reporting capability by converting saved measurement reports to PDF files.
Technical Specifications
- Housing material: ABS plastic
- Operating temperature: 0ºC – 40ºC
- Weight: 142g
- Battery dimensions: 44mm x 91mm x 33mm
- Cable length: 400mm
- Enclosure protection level: IP65
- Measuring force: 0.70 N +/-25%.
- Repeatability: 0.25µm
- Measuring accuracy: +/- MAX(5+|2*K|;|7*K|) µm
- Diameter, measuring tip: Ø 3mm (0.12″)
- Thermal deviation: 0.25 µm/ºC
- Communication range: 10m (33 ft)
- Operating time: 11 hours of continuous operation

In the Box

The AT-010 case includes:
- 1 LVDT sensor
- 1 Magnetic base Nd 25×12 M8 Zn
- 1 power supply
- 1 USB A-Micro cable
- 1 sensor holder
- 1 adjustable probe tip
- FIXTURLASER NXA Manual – English Version
- Magnetic base (Optional)
Do you want more information about our products?
Ask about our Laser Aligner Calibration service.
One of our specialists will contact you as soon as possible.
